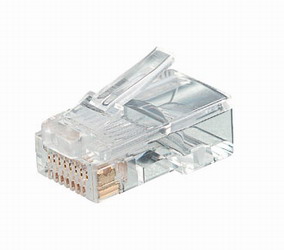
RJ45 Connector |
RJ45 Wiring |
Caution: The cutters on the crimper are very sharp. Keep your hands clear of any parts of the crimper that could pinch them.
Steps for crimping an RJ45 connector onto a CAT5 cable:
- "Milk" the cable's jacket to make it extend past the wires.
- Cut an inch or so off of the end of the cable using the crimper's cutters that are closest to your hand.
- Insert the end of the cable into the crimper's cutters that are farthest from your hand.
- Making sure that the cable is up against the stop, make shallow cuts all around into the jacket.
- Don't actually cut through the jacket. You'll be tearing the remaining part of the jacket in the next step.
- With the cable still in the cutters, pull on it until the piece of
cable jacket comes loose.
- If you have to pull too hard, cut a little deeper into the jacket.
- Check the insulation on the wires to make sure you haven't cut
through to the copper anywhere.
- Nicking the copper is a big no-no. A tiny nick can cause the wire to break later.
- If you have cut into the copper, cut off the end of the cable and start over.
- Milk the cable's jacket in the other direction, to make the wires
stick out even more.
- This will make the remaining steps easier.
- Fan out the wires so that they are in the correct positions for standard wiring. (See diagram above.)
- Get the cable into the position it will be in when you crimp the
connector onto it, and don't move the cable again
until you've crimped the connector onto it.
- Moving the cable will change the lengths of the wires, and some wires may not extend all the way beneath the metal tines on the connector. In other words, there'll be a bad connection.
- With one hand, hold the cable tightly to prevent the twisted pairs from moving inside the jacket. Keep holding the cable until you've crimped the connector onto it.
- Cut off just enough of the wires so that the ends are all in a straight line.
- Push the wires into the connector, being sure that the connector is oriented correctly.
- Milk the cable jacket towards the connector so that it will be
crimped by the piece of plastic that is used for this purpose.
- This provides strain relief. In other words, the cable jacket will be held in place and reduce strain on the actual wires.
- Make sure all the wires are up against the stop inside the connector (so that the metal tines will connect with all the wires).
- Put the connector into the crimper and crimp it. Use both hands and apply enough pressure so that the crimper's stops keep you from going any further.